Why We Make It
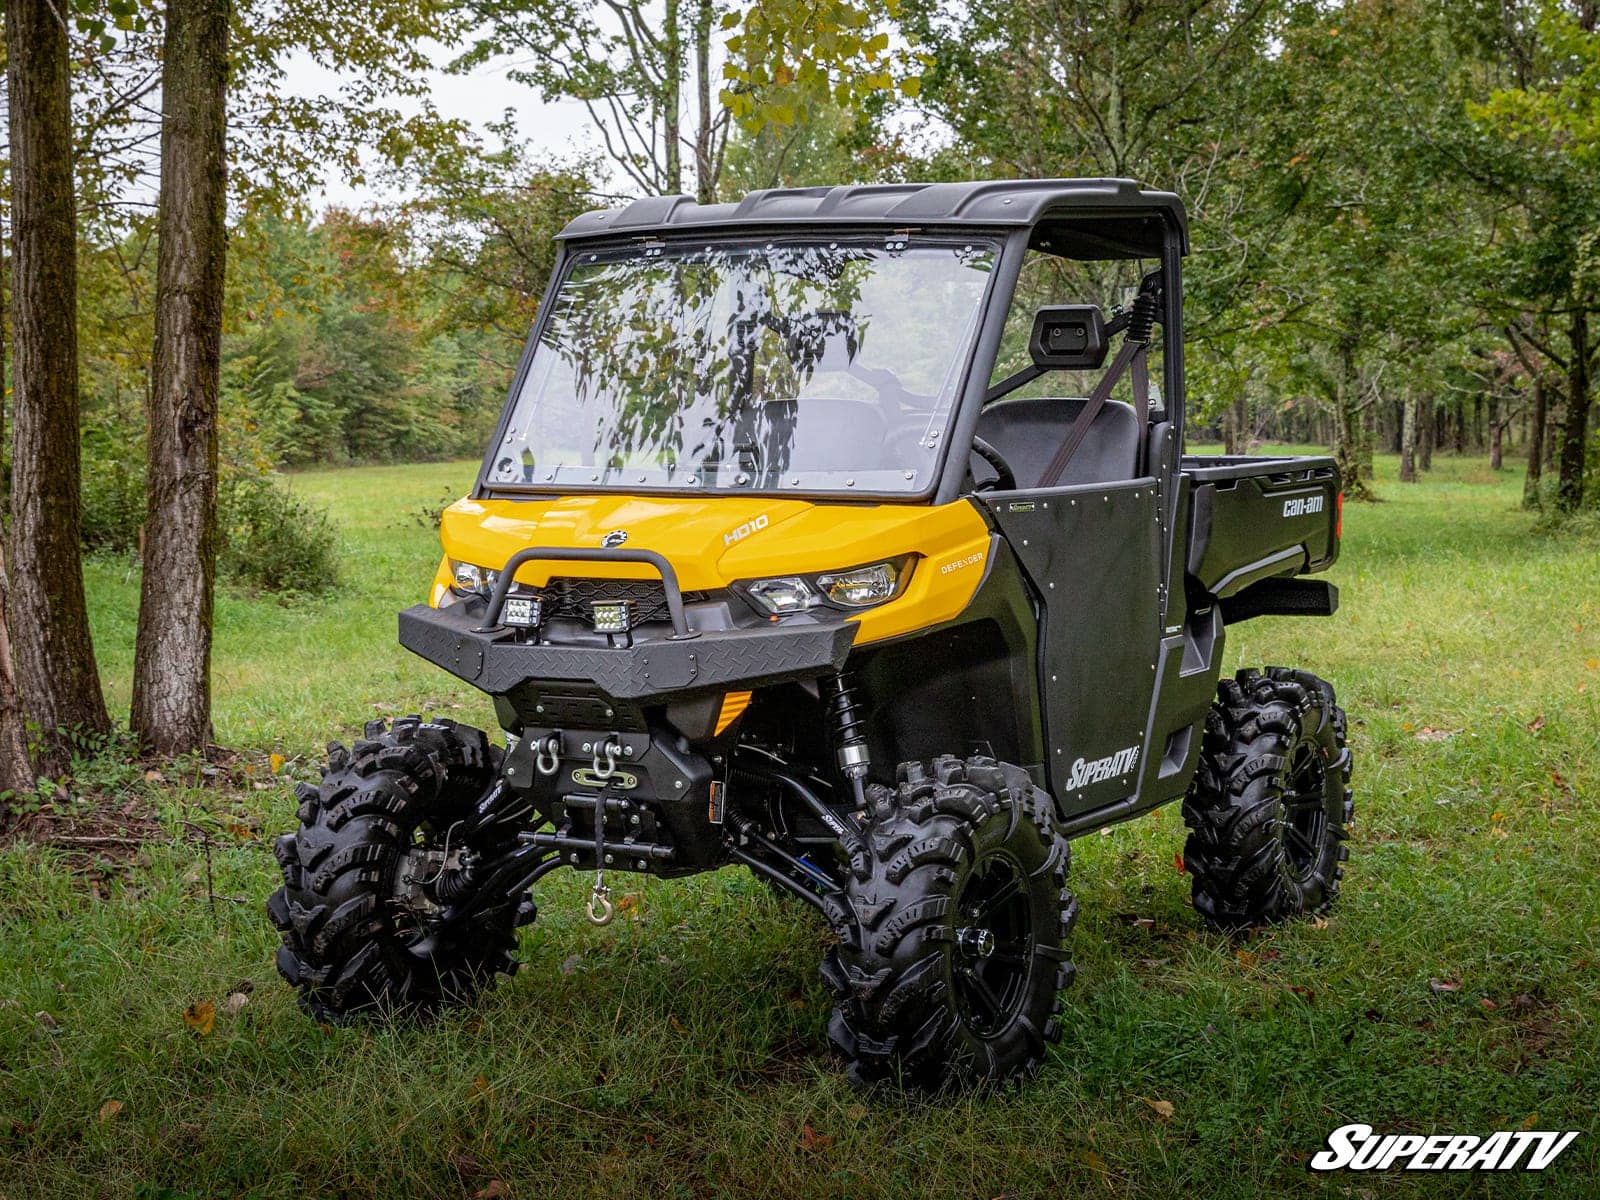
SuperATV”s 6″ Lift kit gives your Can-Am Defender 17″ of clearance, room for 34″ tires, and more stability. With our chromoly steel A-arms, we”ve taken the traditional and made it EXCEPTIONAL. The Defender wants to work hard and play harder “ with our 6″ Lift Kit, there”s no mud hole you can”t conquer.
Chromoly A-Arms Raise the Bar
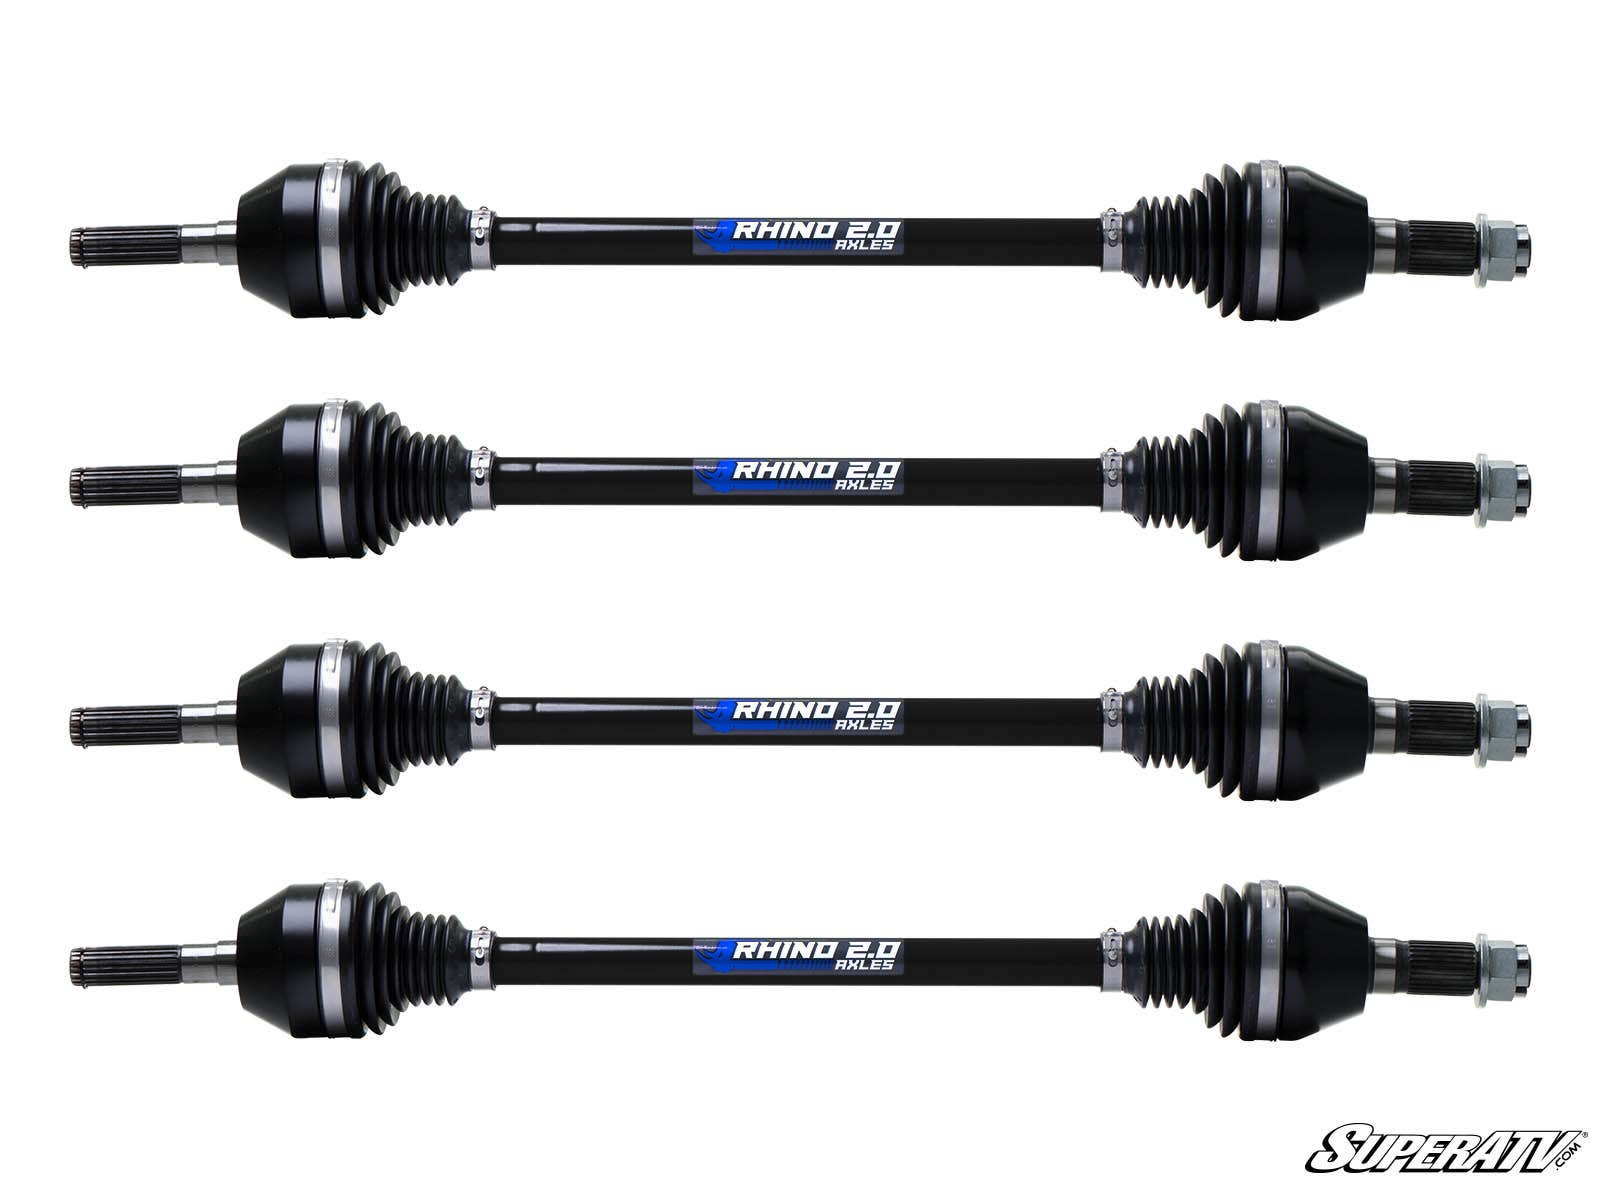
The A-arms on this lift kit are made of chromoly steel from end to end. The pivot blocks that bolt to the frame are chromoly, the 1.25″ diameter tubing is chromoly, and the ball joint housings are chromoly. It”s the only chromoly lift kit you can get for a Can-Am Defender. That”s because we wanted to make a true-to-size 6″ lift that could tackle any mud hole without buckling. And with 17″ of clearance with room enough for 34″ tires and 4 Rhino 2.0 axles included, you”ll be riding harder than you ever have before.
We Keep the Feel of Your Machine Intact
We hate losing that oh-so-cushy feel of stock suspension when we move to a big lift kit as much as the next person. Luckily, we know how to angle our shocks and brackets perfectly to keep the suspension doing what it”s meant to and keep you comfortable.
We also hate it when a lift kit requires a football field to turn around, so we designed ours to keep your turning radius intact. This lift kit isn”t just big and it”s not just bulletproof”it”s luxury. Enjoy your smooth ride 6″ higher.
Comes with Rhino 2.0 Axles
Rhino 2.0 takes your UTV and your 6″ lift to the next level. With hardened 4340 chromoly from end-to-end and maximized CV components, Rhino 2.0 is twice as strong as stock and can handle 40°+ suspension angles without overheating. Not only that, but they”ve been precision made so they don”t require any break in and come with an 18-month warranty. So take the harder route and blaze a new trail”with Rhino 2.0, you”re indestructible.
KIT INCLUDES
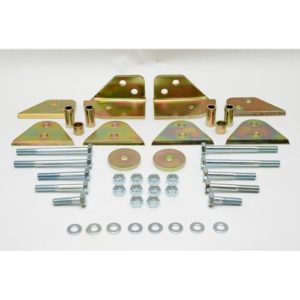
- Front and rear lift brackets
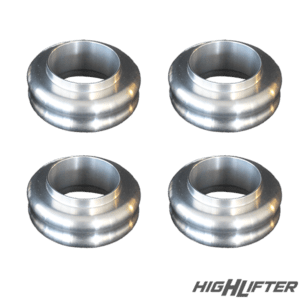
- Front and rear spring spacers
- Front and rear A-arms
- 4 Rhino 2.0 axles
- Heavy duty tie rod kit
- Extended brake lines
- All hardware and installation instructions


